


Organization Branding is where you add your company’s identity and official business information to SISTEM.
This includes details such as your company name, logo, location, billing contact, fiscal year, and Tax ID. Once configured, these details are automatically used across SISTEM wherever your organization information needs to be displayed.
Setting up your organization branding helps you maintain a consistent and professional identity across the platform.
It ensures that:
- Customers can easily identify your company on receipts and invoices.
- Your company logo and details appear on customer-facing documents.
- Billing and tax information is displayed correctly.
- Your organization information is available for reporting and other platform activities.
- You don’t have to manually enter the same information each time a document is generated.
Important Note
Complete your branding setup before you start generating customer receipts or invoices. This helps ensure that the correct company information is displayed from the beginning.
How to Set Up Branding
Before you start, you need Admin access to your SISTEM account to configure or update organization branding.
Step 1: Open the Setup Guide or Organization Profile
You can set up or update your organization branding in two ways:
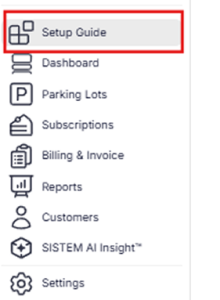
- For first-time setup: Open the Setup Guide and follow the steps to configure your organization’s branding during the initial setup.
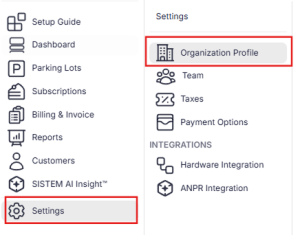
- To update existing branding: Go to Organization Profile under Settings and update your company details, logo, billing information, or other branding information as required.
Step 2: Update Your Company Information
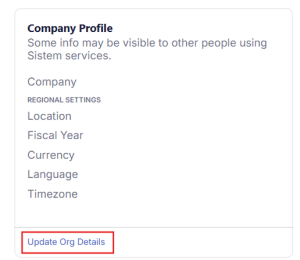
You can update your organization’s basic information, including Company Name, Address, and Current Fiscal Year.
The Country, Currency, Language, and Timezone cannot be changed after registration. These details are automatically detected and set by SISTEM when you create your organization.
Make sure you provide accurate information during registration, as these details may be used across your dashboard, reports, and documents.
Step 3: Add the Billing Contact
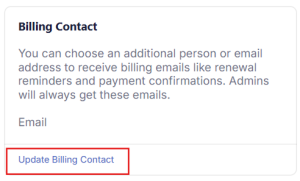
Add the person responsible for billing-related communication. The billing contact is used when SISTEM needs to send or provide information related to billing and payments.
Make sure the contact details are correct and belong to someone who manages or monitors your organization’s billing information.
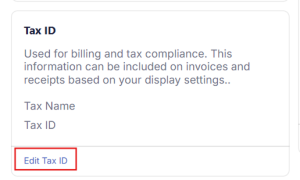
Step 4: Add Your Tax ID
If your organization has a Tax ID, enter it in the designated field.
Adding your Tax ID helps ensure that the required tax information is available when generating customer-facing documents such as receipts and invoices.
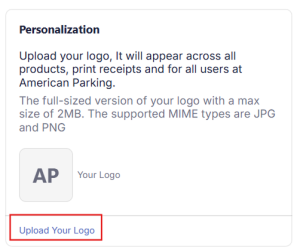
Step 5: Upload Your Company Logo
Upload your official company logo.
The logo helps customers recognize your organization and provides a consistent brand identity across SISTEM.
Step 6: Review and Save
Before saving, review all the information you have entered.
Check that:
- Your company name is correct.
- Your location is correct.
- Your fiscal year is correct.
- The billing contact details are up to date.
- Your Tax ID is correct, if applicable.
- The correct company logo has been uploaded.
Click Save to apply your changes.
How is your branding used?
Once your organization profile is saved, SISTEM uses the information you’ve provided across the relevant areas of the platform.
For example, when you generate a customer invoice or receipt, the applicable company name, logo, and Tax ID can be displayed automatically.
This means you don’t need to repeatedly enter your organization information when using these features.
Important Note
Keep your organization information up to date to ensure that receipts, invoices, reports, and other platform information contain the correct details.
Next Steps
Your can refer below articles